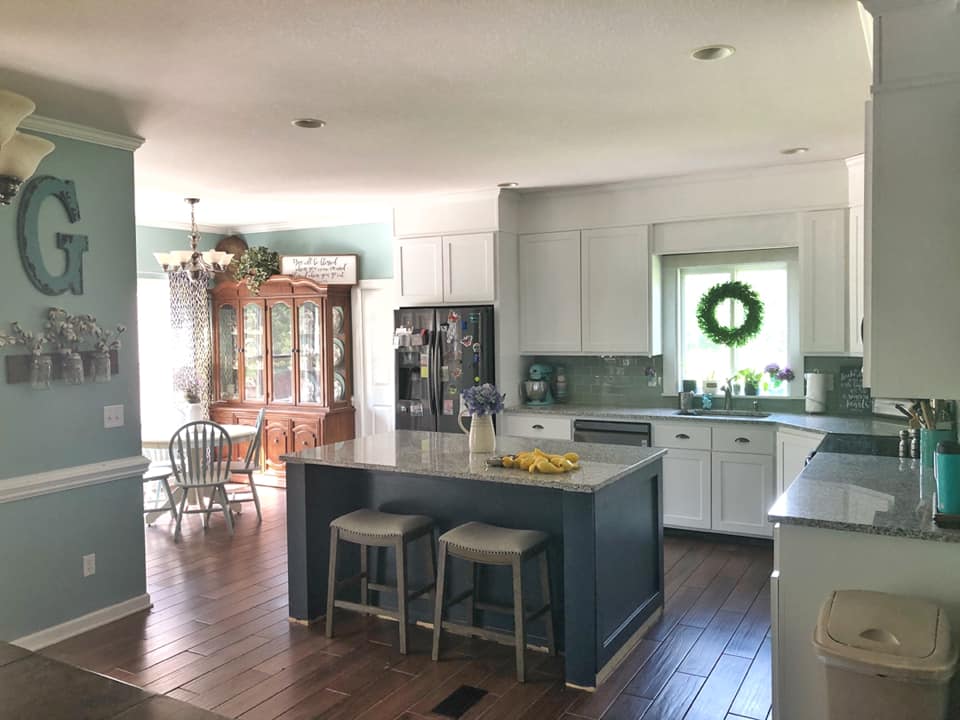
I’ve had lots of people ask about our experience with renovating our kitchen, especially with painting our cabinets, so I thought I would do a blog post about it! I researched quite a while and read many, many blog posts and many people recommended the products that we ended up using. I am thrilled with our results, even 18 months after painting them. We still don’t have a single nick on them and they look great. Here’s our process of how we accomplished this task. It can be a tedious task, especially if you don’t have a paint sprayer, so mentally give yourself time to realize that it’s not an overnight or even weekend task.
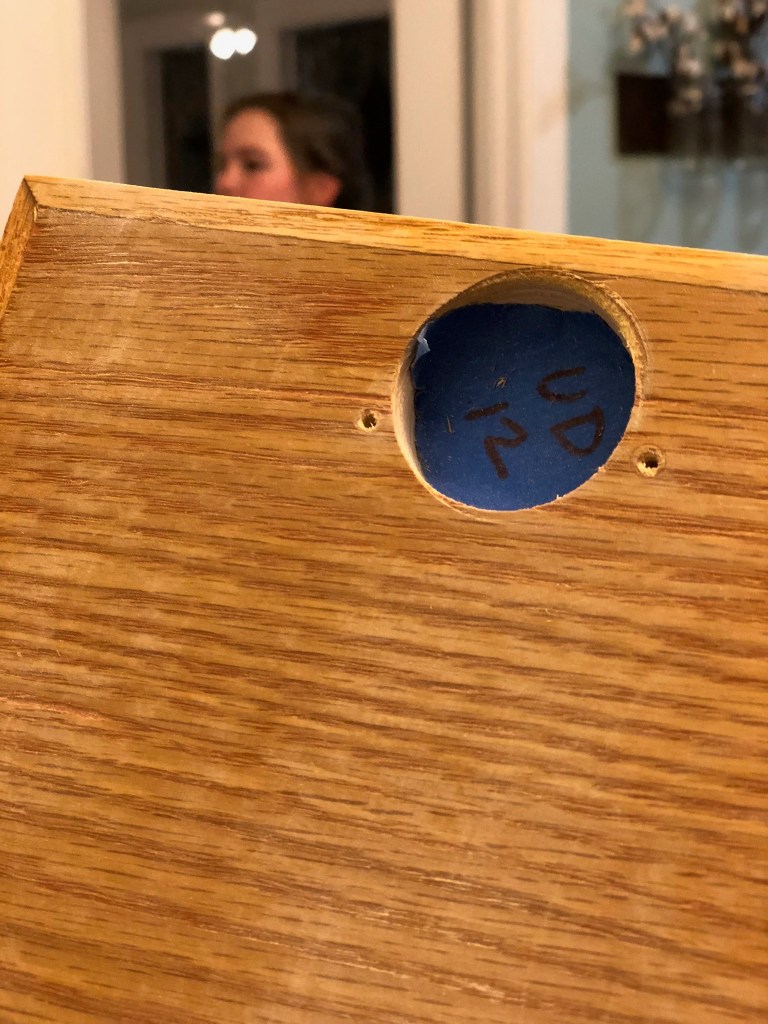
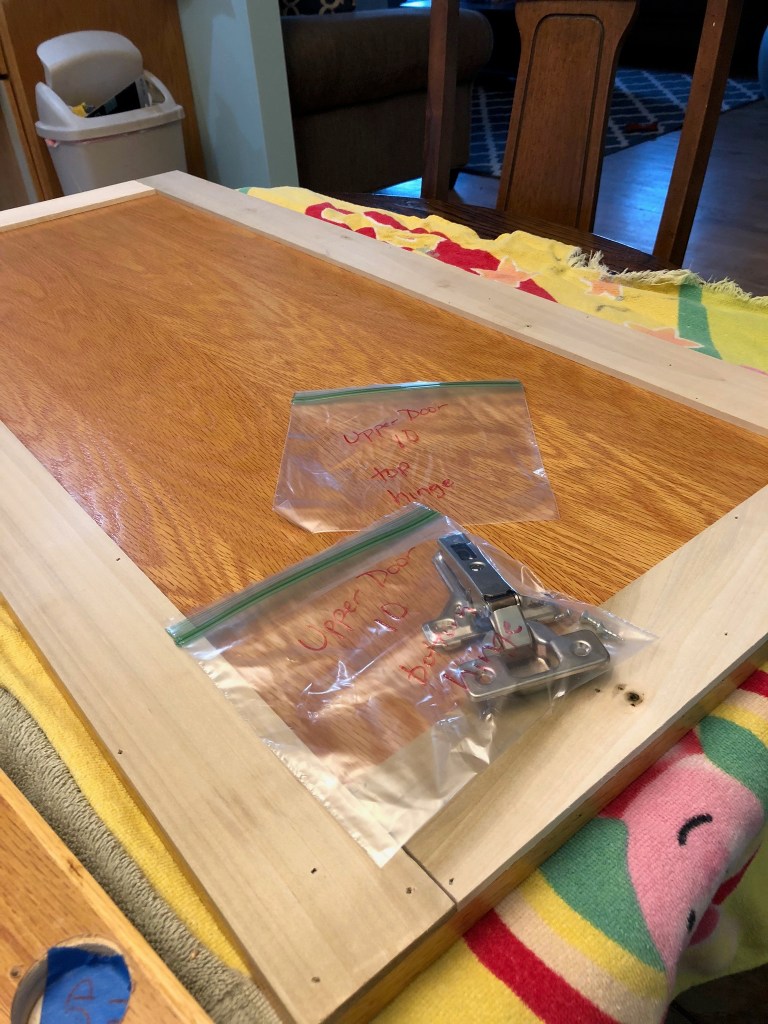
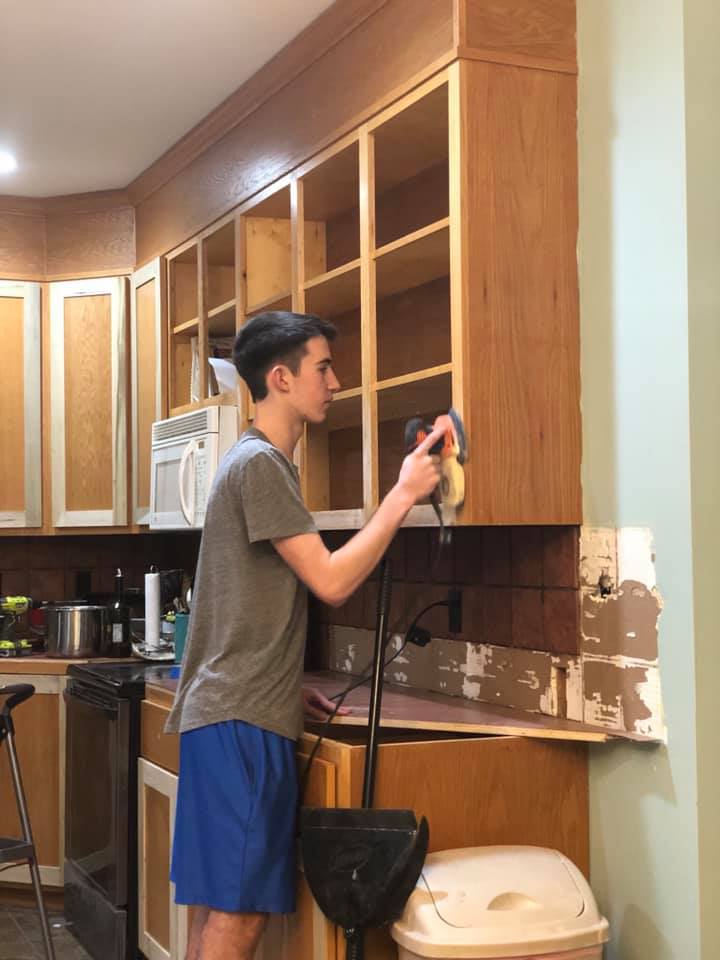
First, we took down all the cabinets and removed the hardware. We used painter’s tape to label the doors with a number and then put the hardware in ziplock bags that were also numbered. We did this because hardware can be placed differently on different cabinet doors and even just a fraction of an inch difference can make the door fit back on differently. This assured that we could put it all back together easily. We labeled them “UD” for upper door and “LD” for lower door.
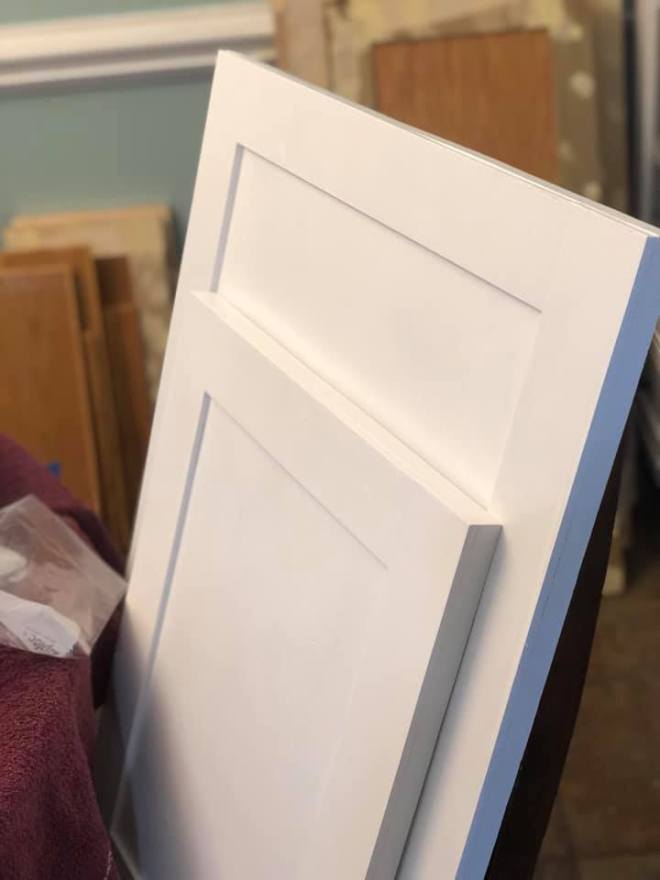
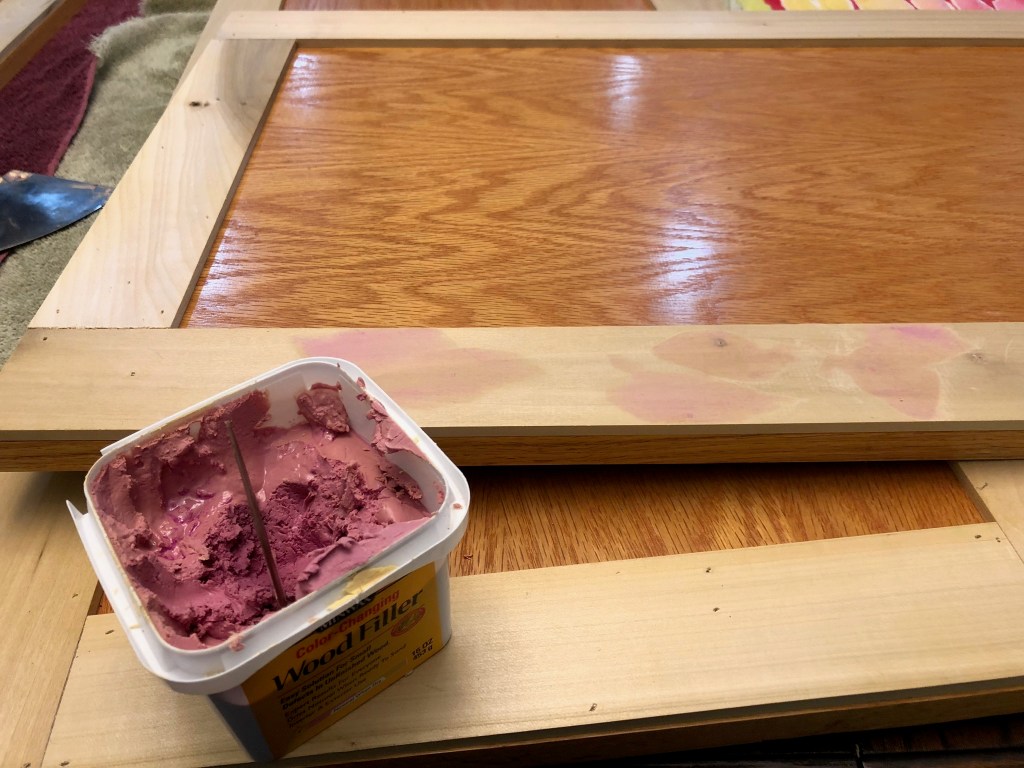
We also added wood trim to our doors because they were just a flat front before that. It was a cheap way to add some dimension. Next, we used wood filler to fill in the holes from the trim and any gaps. After that, we used Krud Kutter to thoroughly clean the doors. When researching, I found that some people needed stronger chemicals to clean grease residue, but we were lucky that ours weren’t too bad and the Krud Kutter took care of it. We took some sandpaper and sanded down the wood filler and scuffed up the original wood a bit. Now we were ready to paint!
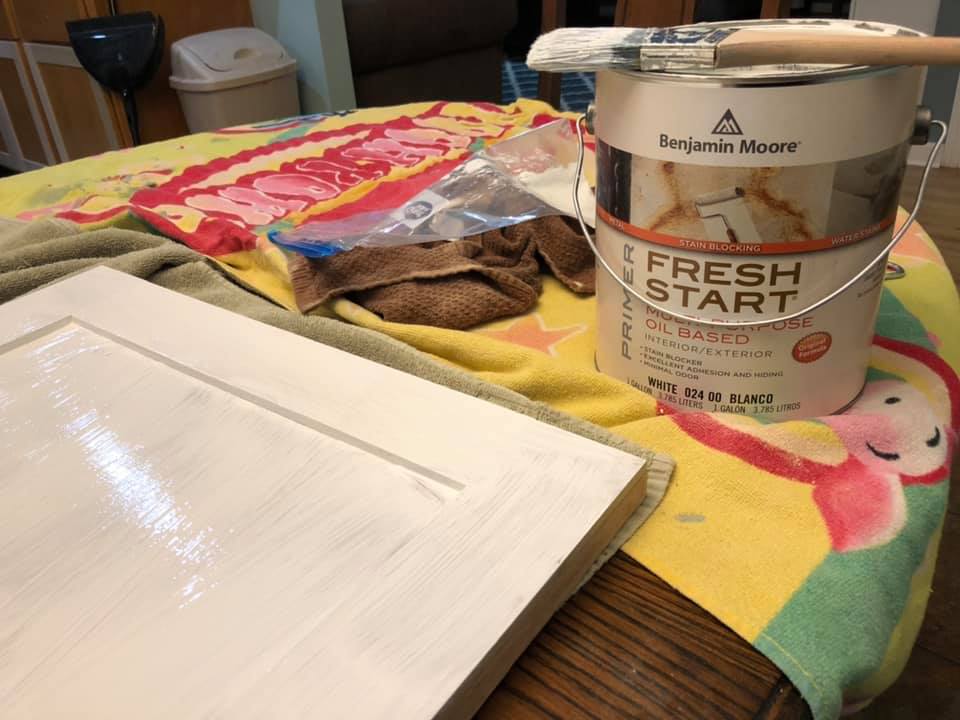
I researched quite a bit on paint and eventually went with Benjamin Moore products. They were a little pricey, but so worth it in the end. It honestly took very little and has been so, so durable. I had to find a hardware store in the area that carried these products and found one about 40 minutes away. The first step was to prime the cabinets with Benjamin Moore Fresh Start Multi-Purpose Oil Based Primer. We don’t have a sprayer and didn’t want to invest in one at that time, so we started off hand painting it with a good quality brush. It went on great, but I still couldn’t get rid of all the brush strokes and still see them on a few doors. After that, we found a mini roller system made especially for cabinets called Whizz Cabinets, Doors, and More (pictured below with the blue handle). It gave a much smoother surface.
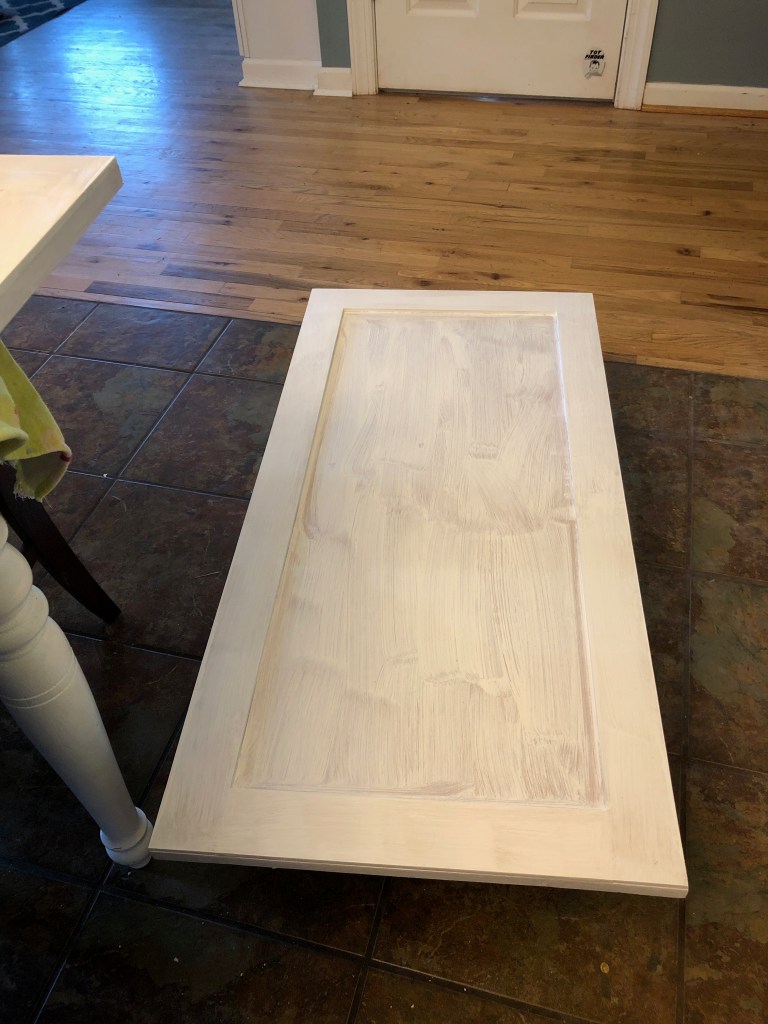
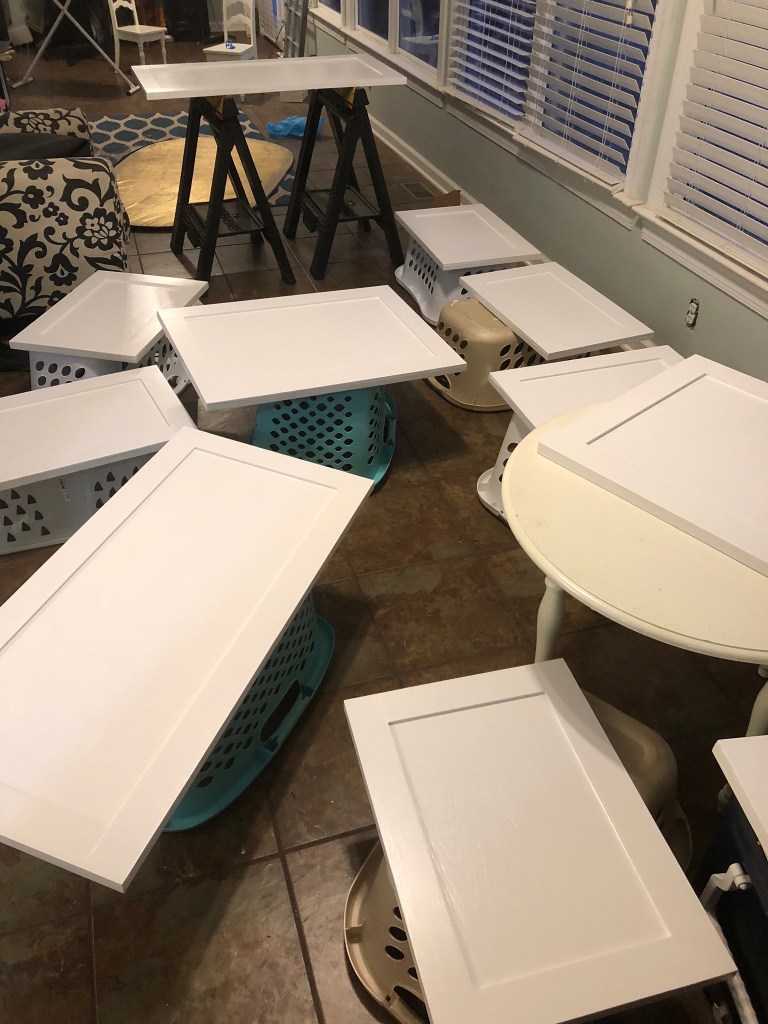
My system went like this-I would prime all the fronts and sides, using a brush to get in the grooves. Then I would put them all on laundry baskets to dry. Once they were dry, I would paint the backs and again put them on a laundry basket to dry. When I was ready for the next coat, I would scuff them lightly with fine grain sandpaper, wipe them down, and then apply the next coat. It took 2 coats of primer to fully cover the doors.
When everything was primed with 2 coats, we put on the coat of paint. We used Benjamin Moore Advance paint in a white semi-gloss finish. From what we read, the Advance paint is like a hybrid of a latex and oil-based paint. It gives the durability of an oil-based without using all the chemicals (it is water based) and is low VOC. Since kitchen cabinets take a lot of wear and tear, it was important for me to have a paint that would dry hard. I again will say that I am SO happy with the final feel and durability of the paint on the cabinets.
I did this process the same way I did the primer-I used the mini roller system to apply one coat to the front and sides, then let it dry a few days. Then I would paint the back and let it dry as well. When I was ready for coat 2, I lightly sanded it to smooth out any imperfections, wiped off any dust, and painted the second coat. It only took 2 coats of paint for my cabinets.
**Quick tip that I’ve learned through MANY painting projects over the years. Did you know that you can put your paint roller in a ziplock bag, press all the air out, seal, and then put in the fridge? It will stay moist for weeks and you aren’t having to replace a lot of rollers during projects like this one that require many coats of paint.**

Now all my doors were finished and were so beautiful!

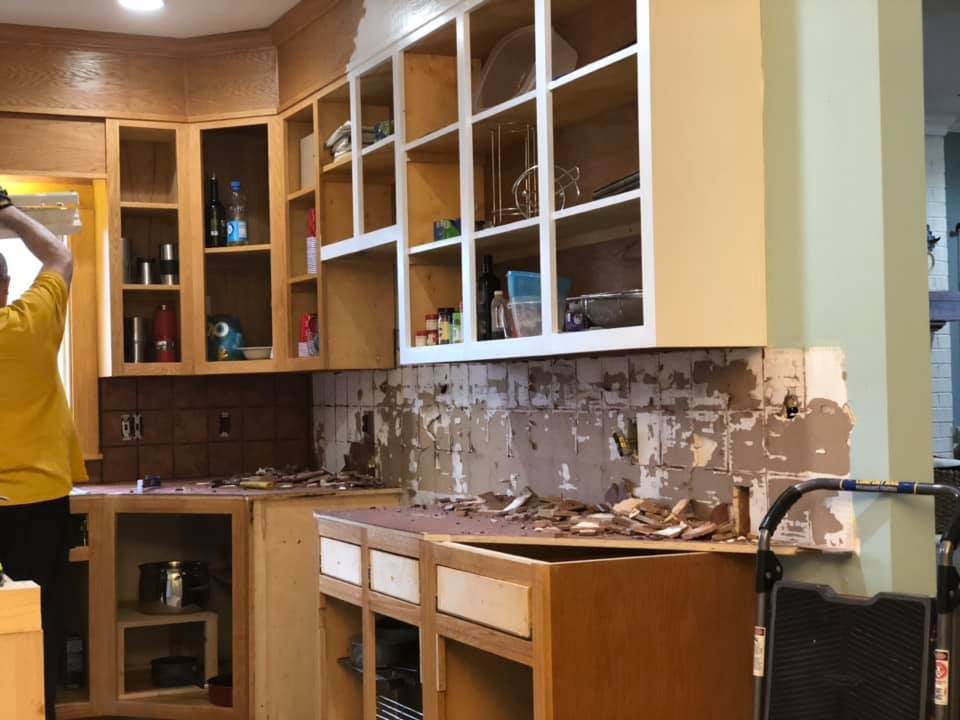
During all of this, we were again working on priming and painting the frames of our cabinets so when the doors dried, we were ready to reassemble. It was crazy to see the change as we started putting doors slowly back in place! We also added new knobs before we put the doors back.
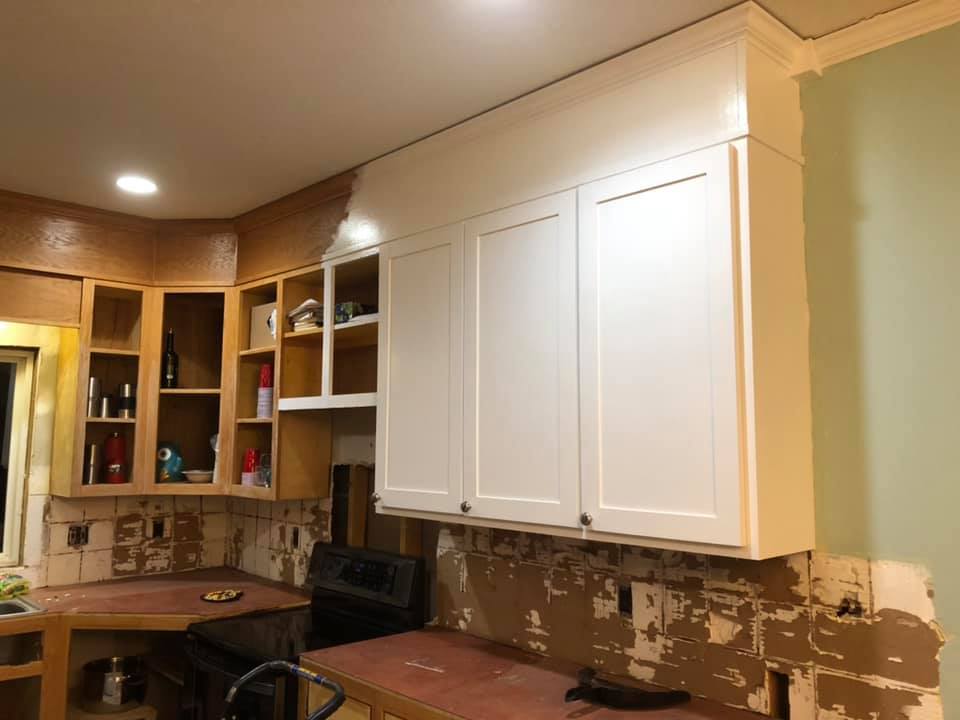
Overall, it was a project that took us about 2-3 weeks of working a bit every day or evening. The final cost ended up being less than $350, even with buying knobs and trim. The before and after makes it look like a completely different kitchen! Although it was time-intensive, it really didn’t cost that much and we are so happy with the results!